
This is the story of how we made roughly 120m² of pizza over the course of five days at SHA2017, a hacker camp in the Netherlands in August of 2017. Our pizza was free for the taking, no strings attached (except cheese strings), and all surplus donations ($1461!) were given to the Electronic Frontier Foundation (EFF).
We've done the math – your generous donations mean that we ran a surplus of 1226.20€ or $1461 which now go to @EFF! 😱🍕🎊🎁
— Pizza Village at SHA (@pizzahackery) August 30, 2017
To give you some context and a sense of the scale, SHA is a five-day event for around 3500 visitors, in the outdoors, running on immense diesel generators and 100 Gbit/s fibre internet connection (the fastest ever on a campsite!). Every visitor was provided with a fully programmable WiFi-enabled badge sporting an e-ink display. It had everything a crazy hacker camp needs, and it was tremendously fun.
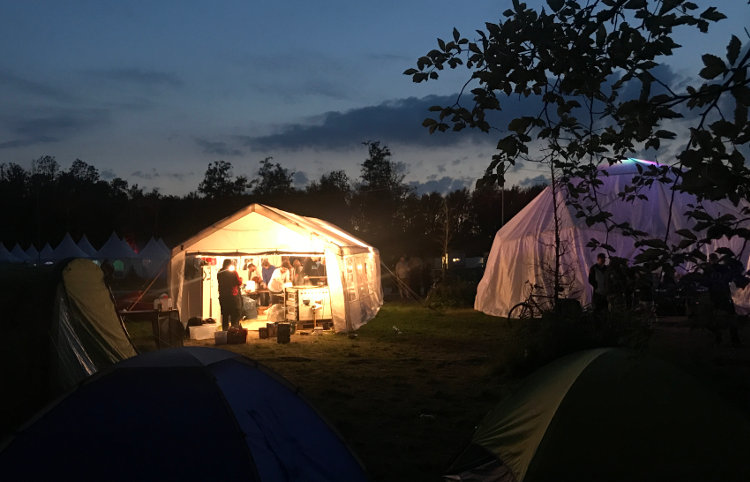
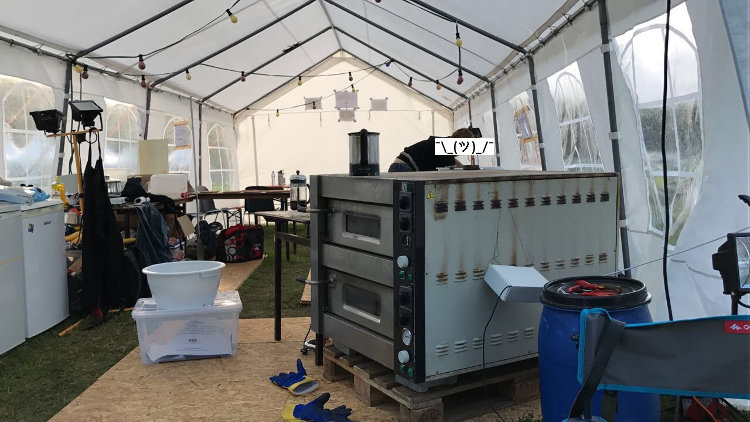
We came up with the idea of making pizza at scale for a hacker camp earlier this year at Gulaschprogrammiernacht, another hacker event, albeit of the indoors kind. After an initial focus on wood-fired ovens we realised that fire bricks are expensive and used electric pizza ovens are not. So we set about getting ourselves a nice one on eBay. After some searching, we found a suitable oven and bought it for 300€. This was a month before the event.
We picked up our 14kW pizza oven yesterday. Everything seems to be in working order! pic.twitter.com/um1KNW9MIM
— Pizza Village at SHA (@pizzahackery) July 6, 2017
Some numbers on the oven: it draws 14.4kW of power and has two compartments, each measuring 60×90cm². At 90×120×90cm³, its footprint exceeds a standard European pallet and is just under the limit of a standard door frame. Including the firestones for baking on, it weighs in at an estimated 150kg (330lbs for the metrically impaired). It’s a beast.
A test run a week later showed that everything was mostly working and we made some first trial pizzas.
Preparations
With the oven out of the way, we were beginning to realise the scale of this undertaking. We would need a large tent to house the entire operation in the notoriously unstable Dutch weather, boxes to let the dough rise, fridges to keep the cheese cold, and lots of volunteers to make the pizza.
So where do you prove the insane amounts of dough we would need every day? Pizzerias use these nice stacked boxes to let pre-formed dough balls rise, but a quick check of the price tag was a big NOPE. We eventually settled on large 45 litre IKEA Samla boxes. You know, the ones you use to store stuff in the basement. They’re a good size, cheap, and made from polypropylene. So we got 14 of those.
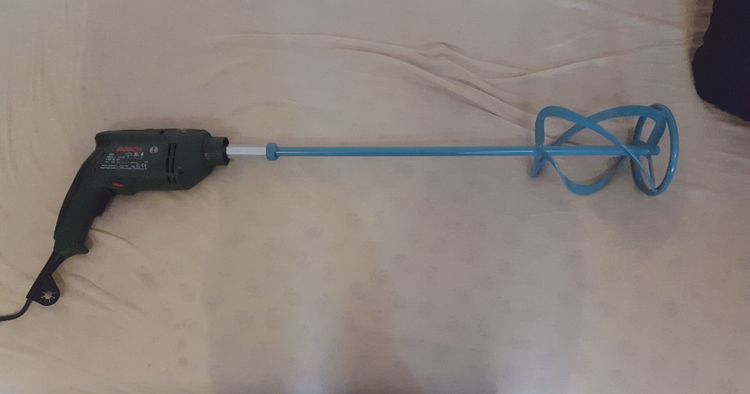
But how does one go about mixing such enormous quantities of dough in the first place? Your typical household food processor would likely overheat and die on the first day. Gastro scale dough machines are super expensive, and will easily fetch twice the price of our oven even when they’re in an absolutely terrible condition. So, uh, in the end we settled for a (food-rated!) cement mixer attachment for a power drill. That would get us halfway there, with the rest of the kneading done manually.
We found a dozen old 60×80cm² trays from a former Pretzel bakery on the local equivalent to Craigslist, and bought some buckets along with all the other equipment we would need at a gastronomy retailer’s.
This seems like a good place to thank the lovely self-administered student dormitory where I used to live back in the day for helping us make this a reality by letting us borrow their stuff for free. Seriously, it’s a place to live for 1000 students, run almost entirely by students. Among the things they provided us with are a large 4×10m² tent, four refrigerators, all the outdoor-rated electrical equipment we would need, and two sets of beer garden tables and benches.
Of course we also spent a lot of time on researching the perfect pizza recipe, how long to prove the dough, what toppings to use, how much to buy of what, and so on. Turns out most of our initial guesswork was total garbage, but a trial run where we fed some thirty colleagues helped us find out about that before we’d make complete fools of ourselves at SHA.
Buildup
The big day came, and we picked up our enormous rental van—the biggest we could get on a normal driver’s licence—and loaded in our stuff. As it goes when you have a large van at your disposal, suddenly everything needs to come with you. Like two bicycles and an inflatable boat.
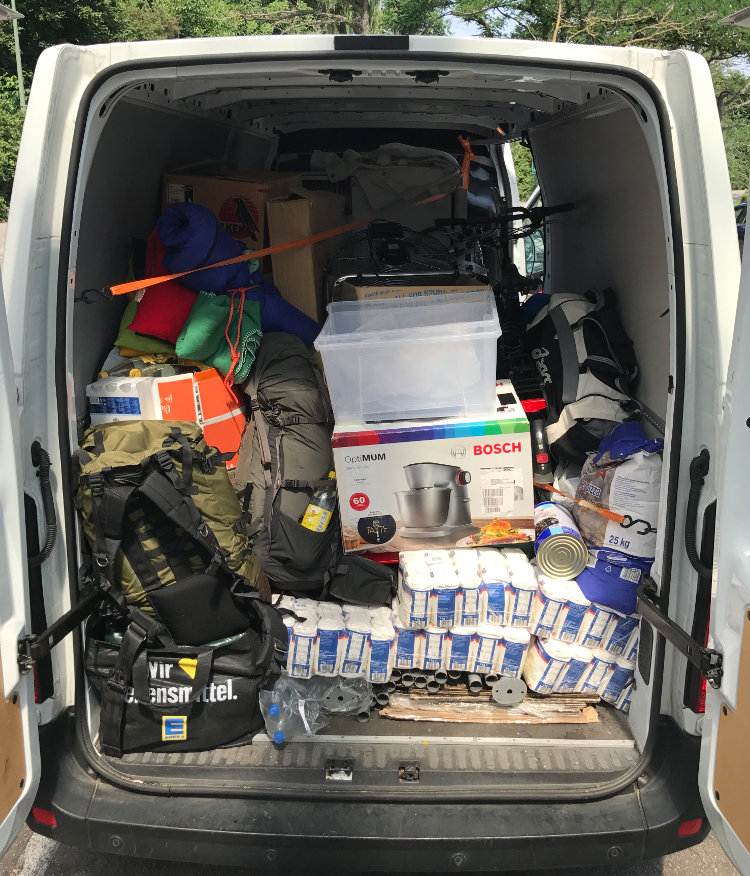
After a not-so-quick stop to buy some of the storable ingredients, we drove up from the south of Germany to the small Dutch community of Zeewolde where SHA would take place. Interestingly, Zeewolde is located on reclaimed land and was only founded in 1984. It also lies around two metres below sea level. Good thing the Dutch know how to build dams and dykes. The night of our arrival we set about pitching our large tent and didn’t get much further than that. At least our pop-up sleeping tents were easy to set up!
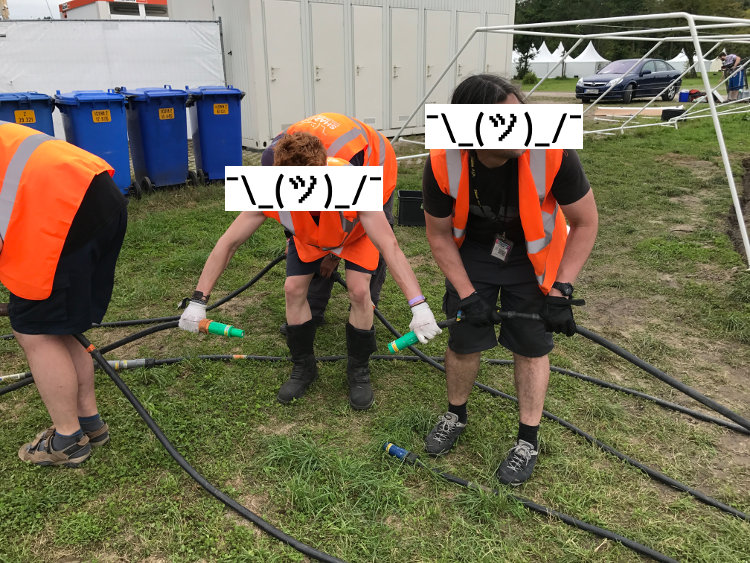
The following days we built up our stuff and helped out with general camp buildup. Slowly, the event started to come together. Here’s a shot of Team Power connecting our distributor’s uplink to the generator. What you see in the picture is a single phase on a 400A cable.
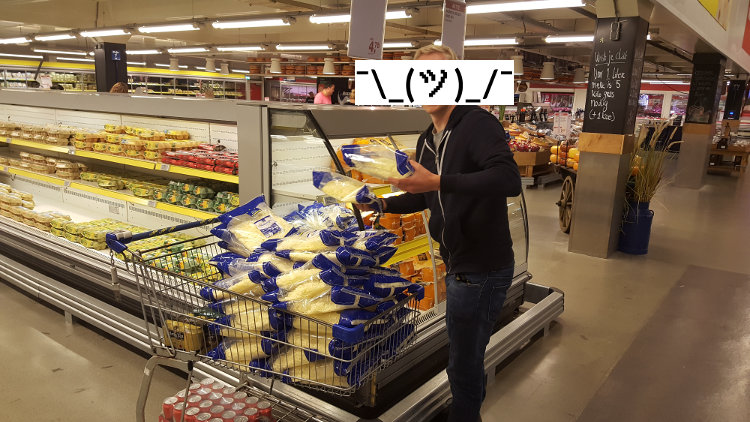
So when we finally had power on the last day of buildup, we plugged in our fridges and went shopping to get ourselves some cheese and toppings. It turned out to be our lucky day, grated Mozzarella was half price at Makro, a wholesale shop for commercial customers. So we loaded 70kg of that onto our shopping trolley (photo was taken after around 40kg), along with 12kg of salami and lots and lots of other stuff.
When we returned, the wind had nearly taken down our tent, and the lone colleague whom we had abandoned at the camp site had had a whole lot of work to do keeping it fixed to the ground. With the weather having calmed down again, we did a first test run to great success and went to bed, ready for the adventure to truly begin.
Pizza at Scale
There are a few parts to making pizza at scale. Obviously, the dough needs to be prepared in advance—it takes at least a few hours to rise—and the oven has to be pre-heated before the real pizza making can begin. When it’s time to start, we had a multi-stage pizza processing pipeline consisting of a dough rolling station, a saucery, and the toppings pick&place shop, before being passed on to the oven master for baking. When it’s done, the pizza needs to cool down for a few minutes or hungry hackers will burn their paws trying to pick it up. It also needs to be cut into slices, and the empty trays need to be scraped off. But let’s start at the beginning: dough.
Our wonderful neighbours at Milliways, the restaurant at the end of the universe, had rented a spacious cooling truck that they kindly allowed us to use. This way, we had enough refrigeration space to let the dough rise overnight in a cool environment. As any self-styled pizza expert will eagerly tell you, this is preferable over a quick rise at room temperature because the yeast behaves a bit differently and produces less non-tasty byproducts (or something like that). We had also bought 50kg of organic stoneground flour from Lotte of Das Brot, who ran the Milliways bakery at SHA2017, which made for a few batches of extra-delicious pizza. We’re really grateful to Milliways for all their support! We couldn’t have had better neighbours.
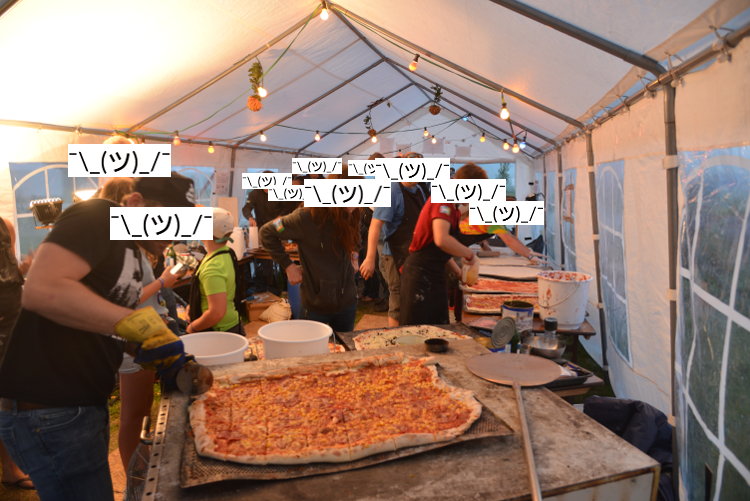
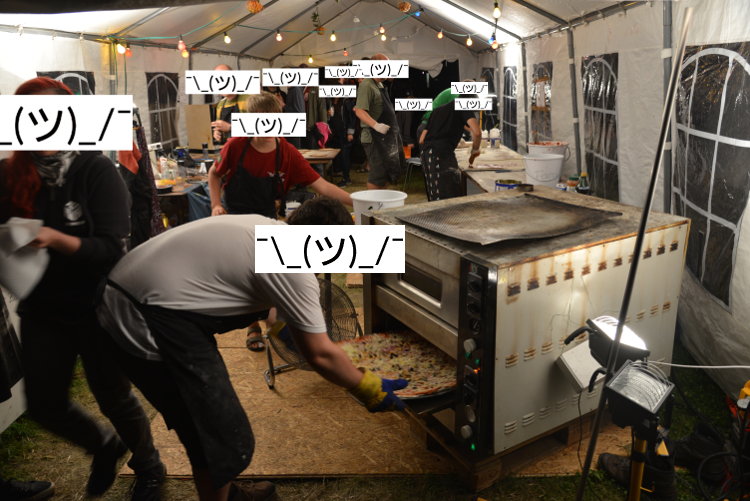
On the photo above, you can see how our pizza pipeline was laid out, with the dough rolling furthest from the camera on the right, followed by a screen that was ready to accept the rolled-out dough (flour it well and fold twice to transfer) and the sauce station. The table behind the oven was used to put on topping, and you can see a finished pizza cooling down on top of the oven.
The Recipe
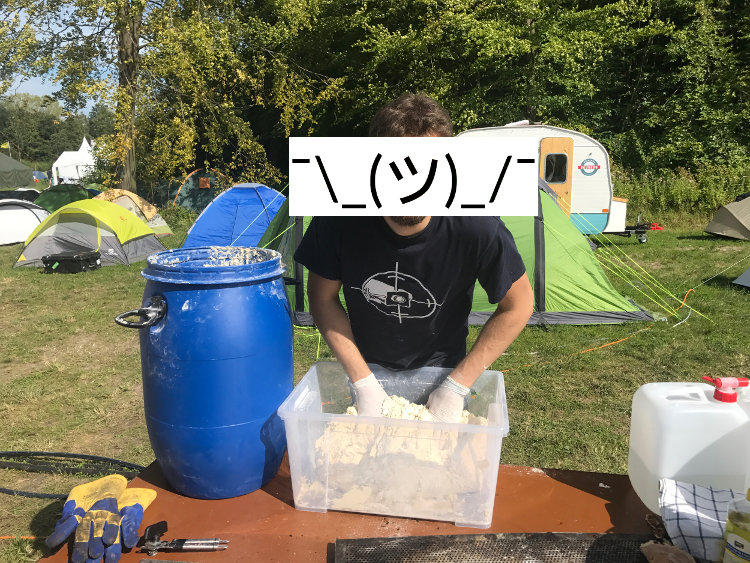
We made dough in large batches, 10kg of flour at a time. For that amount, use 6½ litres of water, 150g of salt, and 100g of dried yeast. The amount of yeast really isn’t that important, sometimes we used less, sometimes more, and it all worked out fine. You can probably cut that down to 60g if you want and have the time to let it rise. We also did a few batches with fresh yeast, which is less potent per gram, and those worked out really well, too. Just dissolve it in a litre of the water to ensure an even distribution. To make the dough, mix all the dry ingredients and add the water. We used a 60l barrel of the kind commonly used to make beer, wine, and spirits. Mix the ingredients well (we used the above-mentioned drill attachment for that) and knead. For the kneading and rising, we transferred the dough into 45l IKEA Samla boxes. Let it rest at room temperature for 30 minutes, then transfer to the cooling (or let it prove outside for a quicker rise). Wait until it’s well risen.
For the pizza sauce, we used polpa fine tomatoes (finely crushed) and added some herbs—oregano and some basil—and a tiny bit of chili. Dried herbs need to soak for a while, so ideally prepare that an hour or so in advance, too. When we ran out of polpa fine, we switched to sieved tomatoes thickened with tomato purée, which worked well, too.
Roll out the dough using lots and lots of flour. We know that stretching improves the crust, but it’s not exactly easy when your pizzas are 60×80cm². Add a little sauce, but not too much, or you’ll get a soggy pizza. Then throw on whichever toppings you like (again, not too much or stuff will fall off when eating), add cheese, and bake.
A Note on Oven Temperature
Basically, “the hotter the better” appears to be the only rule you need to know. Our oven’s thermostat goes up to 500°C (930°F), but it will drop to 400°C (750°F) when constantly shoving in new pizzas. It also contains heavy fire stones, a thicker version of the pizza stone you might have at home. This increases thermal capacity of the oven and quickly transfers heat to the pizza. Ideally, we would have put the pizza directly on the stones, but given their size, that’s not exactly easy. Using screens significantly simplified the process, and the result was still excellent pizza. It just took a bit longer to bake because the heat transfer was worse.
A Note of Thanks
A big thank you to everyone who made this possible! First and foremost, HaDiKo for lending us their equipment and Milliways for all the support on site. A tremendous thanks also to all our tireless volunteers who spent their time at SHA on making pizza, this whole operation was only possible because of you! And of course, a big thank you to everybody who donated. Not only did you cover our costs, but you also raised a lot of money for the EFF. And we mustn’t forget the organisers of SHA for this great event, Team:Power for putting up with our obscene power usage, and the angels who worked tirelessly. Thanks everybody!
If you’re interested in borrowing the oven for a cool community event near Karlsruhe, hit us up @pizzahackery!